Getting Started
This guide explains how to install ProxyAI and begin using AI coding assistance inside your JetBrains IDE. The steps differ slightly depending on whether you are using the publicly available plugin or a private one provided by your organization.
Follow these steps if you are installing the standard ProxyAI plugin available to everyone.
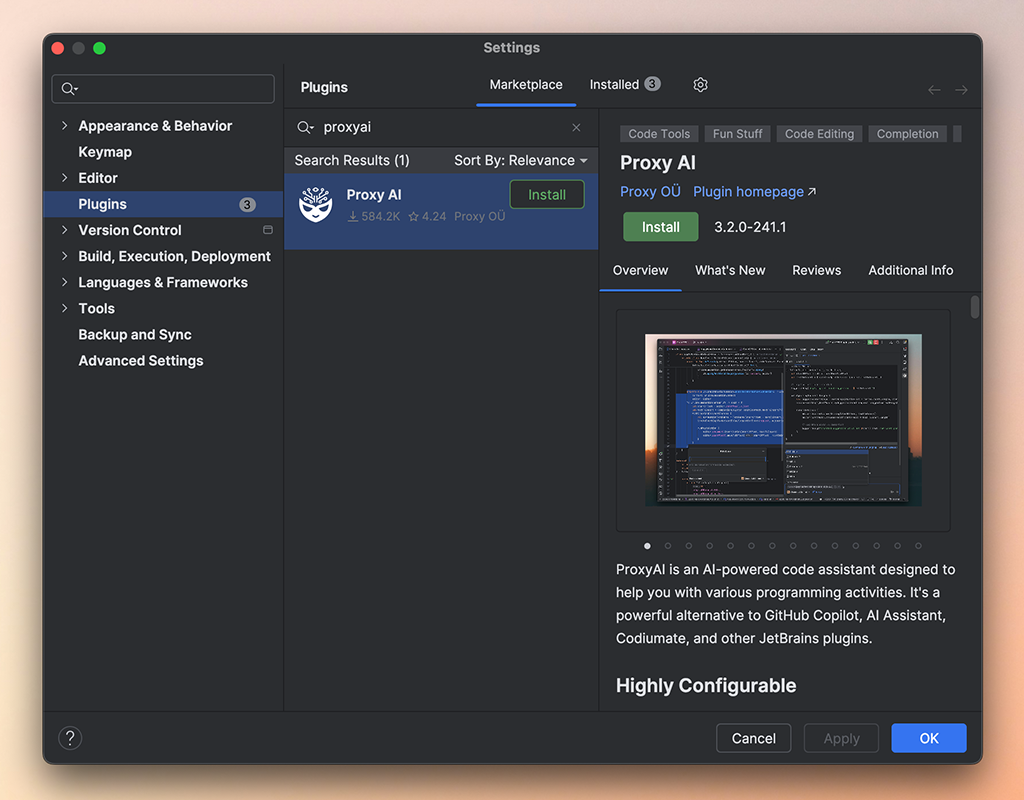
Install the Plugin from Marketplace
- Open Settings / Preferences → Plugins in your JetBrains IDE.
- Search for
ProxyAIin the Marketplace tab. - Click Install and restart your IDE when prompted.
Launch ProxyAI
Once installed, find the ProxyAI Chat tool window (usually on the right-hand side) or activate it via Find Action (⌘/Ctrl + Shift + A → search "ProxyAI Chat").
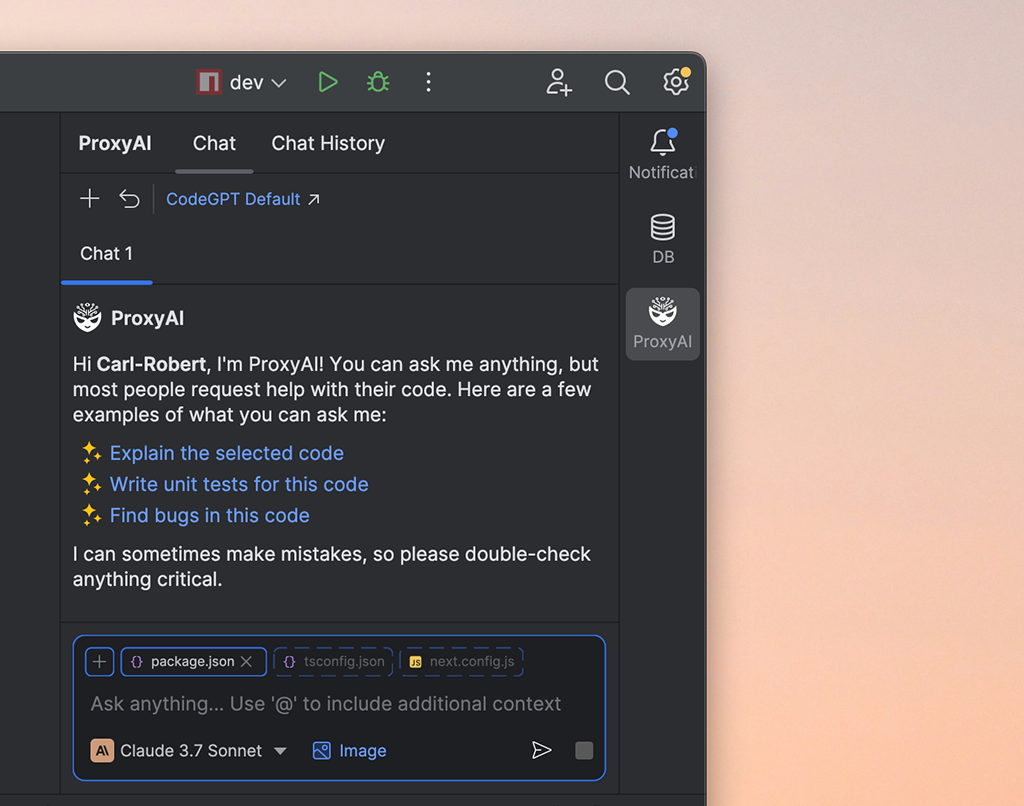
Ask Your First Question
Open the chat window and ask anything!
Initial Configuration:
Upon first use, the public ProxyAI plugin defaults to using its own cloud service (ProxyAI Cloud) with basic model access. To unlock more powerful models or use different AI providers:
- Upgrade your ProxyAI Cloud plan (see pricing (opens in a new tab)).
- Configure the plugin to use an external provider (like OpenAI, Anthropic) with your own API key (See Providers).
- Set up a connection to a local model using Ollama or Llama.cpp (See Local Providers).